
Flower Garden Soil Preparation Tips: 10 Easy Steps to Get Your Garden Ready for Summer 2025!
Dreaming of a garden bursting with colorful blooms this season? Getting your flower garden off to a great start begins well before you plant the first seed or seedling.
The right soil prep can turn struggling plants into a stunning display of flowers that bloom all season long.
Want to know the secret to garden success? Here are some genuinely simple, effective ways to prepare your soil for thriving flowers.
From adding nutrients to getting that perfect soil texture, these tips can help make your garden dreams real.
1. Add Compost
Start with a 3-4 inch layer of well-rotted compost to boost nutrients and moisture retention.
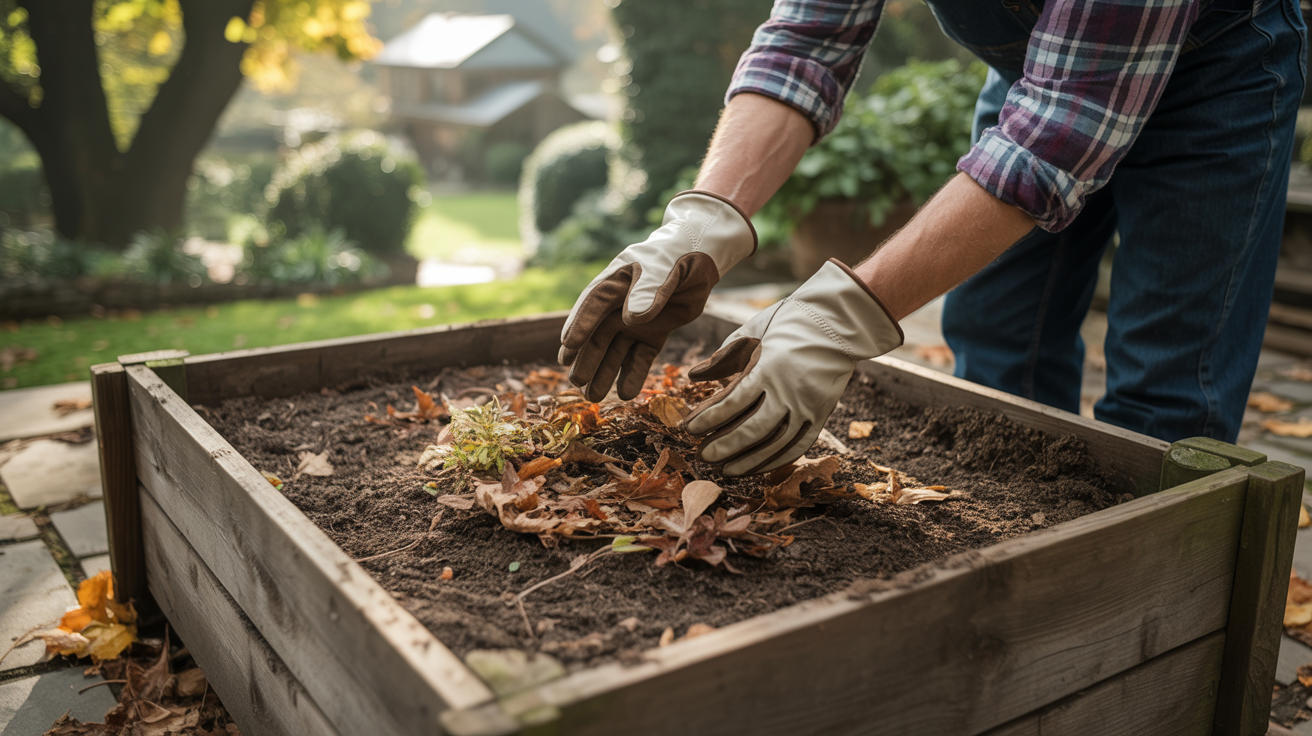
Ready to transform your flower garden soil? Start by adding a 3-4 inch layer of well-rotted compost—trust me, it’s a game changer.
This dark, crumbly material works magic on any soil type. Spread compost over your beds and you’re giving your flowers a nutrient buffet they’ll love.
It improves sandy soil by helping it hold onto water, so you won’t end up with parched plants.
Good compost smells earthy, not sour. If it stinks, it’s rotting instead of composting—aim for that “moist chocolate cake” feel.
Why We Love It: Well-rotted compost is nature’s perfect soil amendment. It’s free if you make it, eco-friendly, and provides slow-release nutrients that chemical fertilizers just can’t match.
Plus, it dramatically improves water retention in your garden beds.
2. Test Soil pH
Test your soil pH and adjust it to 6.0-7.0, ideal for most flower garden blooms
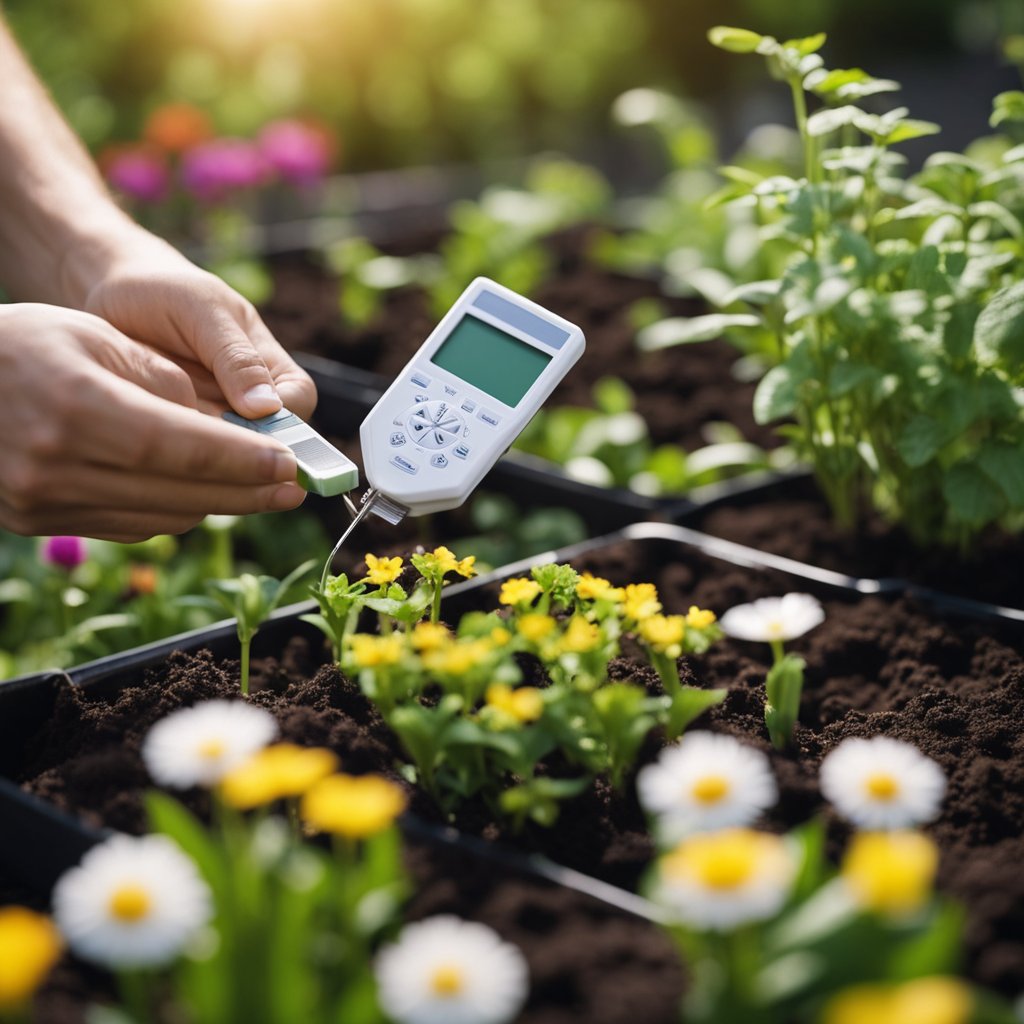
Knowing your soil’s pH is like understanding your garden’s personality. Most flowering plants thrive in soil with a pH between 6.0 and 7.0.
You can test your soil pH at home with a simple kit from the garden center. For super-accurate results, try sending a sample to a lab—it’s honestly not that hard.
If your soil is acidic (below 6.0), add garden lime to raise the pH. Too alkaline (above 7.0)? Mix in a bit of sulfur or peat moss to bring it down.
Some flowers, like azaleas and rhododendrons, actually prefer more acidic conditions around 4.5. They’re a bit picky!
Why We Love It: Testing pH is a total game-changer because it helps your plants access all those nutrients you’ve worked so hard to provide. When the pH is right, you’ll see more vibrant blooms and healthier plants—less fuss, more flowers.
3. Loosen Soil

Loosen soil to at least 8 inches deep to encourage strong root growth and better drainage.
Want happy flowers? Start with happy soil! Loosen your soil to at least 8 inches deep so roots can really stretch out.
Hard, compacted soil is like concrete for plants. Your flowers will struggle if you don’t break it up.
Dig down 8-12 inches to create pathways for water and roots. If your soil is super compacted, try tilling or spading 8-10 inches deep and mix in some organic matter for extra oomph.
Why We Love It: Deep, loose soil means stronger roots, less watering, and more vibrant blooms. Plus, your back will thank you when rainwater drains instead of pooling up!
Picture this: Garden soil turned with a fork, showing a clear difference between compacted and loose, crumbly soil. A few earthworms peek out from the loosened side.
4. Add Organic Matter
Add aged manure or organic matter to improve soil texture, especially if your soil is clay-heavy.
Clay soil can be a real headache. It’s hard when dry, sticky when wet—just not fun for gardeners.
But you can fix it! Adding compost, aged manure, or leaf mold will improve drainage and aeration in your heavy clay soil.
These materials break up the dense structure, making it much easier for roots to grow. Try mixing in about 2-3 inches of compost on your beds.
You can add organic matter like leaves with a rototiller at the end of the season. Planting strong-rooted crops like potatoes helps too—they do some of the work for you!
Why We Love It: Organic amendments are affordable, sustainable, and improve soil structure while adding nutrients. Your plants will thank you with better growth and more flowers.
5. Mix in Garden Waste

Mix in shredded leaves or grass clippings for extra organic material and beneficial microbes.
Want to give your flower garden a free boost? Look no further than your own yard—shredded leaves and grass clippings are garden gold.
Mix these into your soil and they’ll break down, adding organic matter and creating little pockets for air and water.
Your plants will thank you as shredded leaves help keep soil and roots warmer, retain moisture, and stop many weeds from sprouting.
You can mix grass clippings directly into your garden soil to help build better structure. Just don’t overdo it—moderation is key!
Why We Love It: This method recycles yard waste, saves money, and introduces beneficial microbes that create a living soil web. Plus, it feels good to put those autumn leaves to use.
Picture this: Hands mixing dark soil with bright green grass clippings and brown leaves, earthworms wiggling nearby, and a trowel resting on the ground.
6. Check Compost Levels
Avoid piling too much compost—keep it under 4 inches to prevent suffocating your plants
Remember, too much of a good thing can backfire! Excessive compost can harm your plants by creating an imbalance in the soil.
Keep your compost layer under 4 inches. Flowers need to breathe, and a heavy blanket of compost can suffocate delicate roots and block air flow.
Too much compost can also cause excess phosphorus, especially if you’re using manure-based composts. Your flowers might not show problems right away, but they’ll notice!
Why We Love It: The 4-inch rule is easy to remember. You’ll save money, avoid waste, and keep your flowers happy—not too little, not too much.
7. Clean Up Old Plants
Remove dead plants and debris before prepping the soil to reduce pest and disease risk
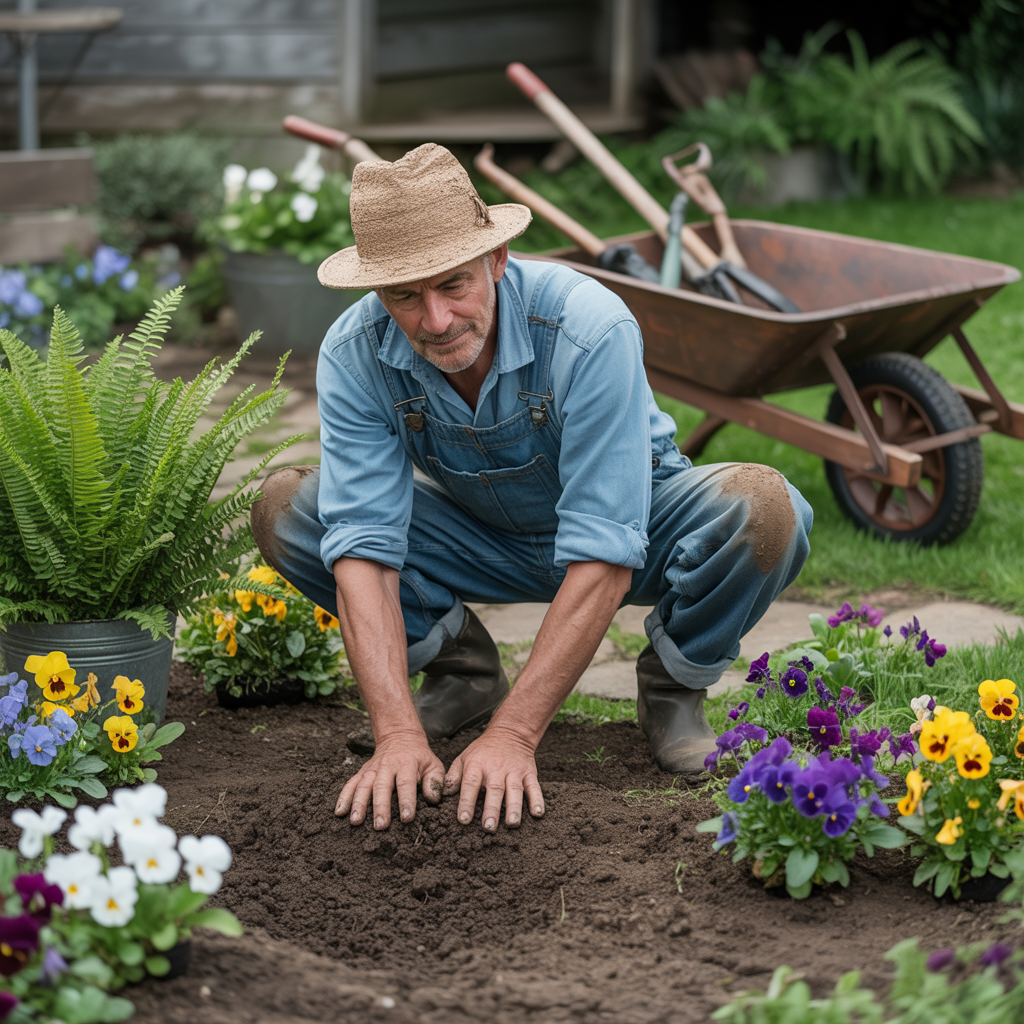
Getting your hands dirty with garden cleanup isn’t glamorous, but honestly, it matters more than people think! Clearing out rocks and debris before you prep the soil saves you from future headaches.
Dead leaves and plant remains aren’t just ugly—they’re basically five-star resorts for pests and diseases. When you remove fallen vegetation, you’re kicking out troublemakers before they settle in for good.
Think of it as a reset button for your flower bed. You want to clear out weeds, mulch, and debris until you see nothing but bare soil.
8. Apply Light Layer of Mulch
Spread a 2-3 inch layer of mulch after planting to conserve moisture and keep weeds at bay.
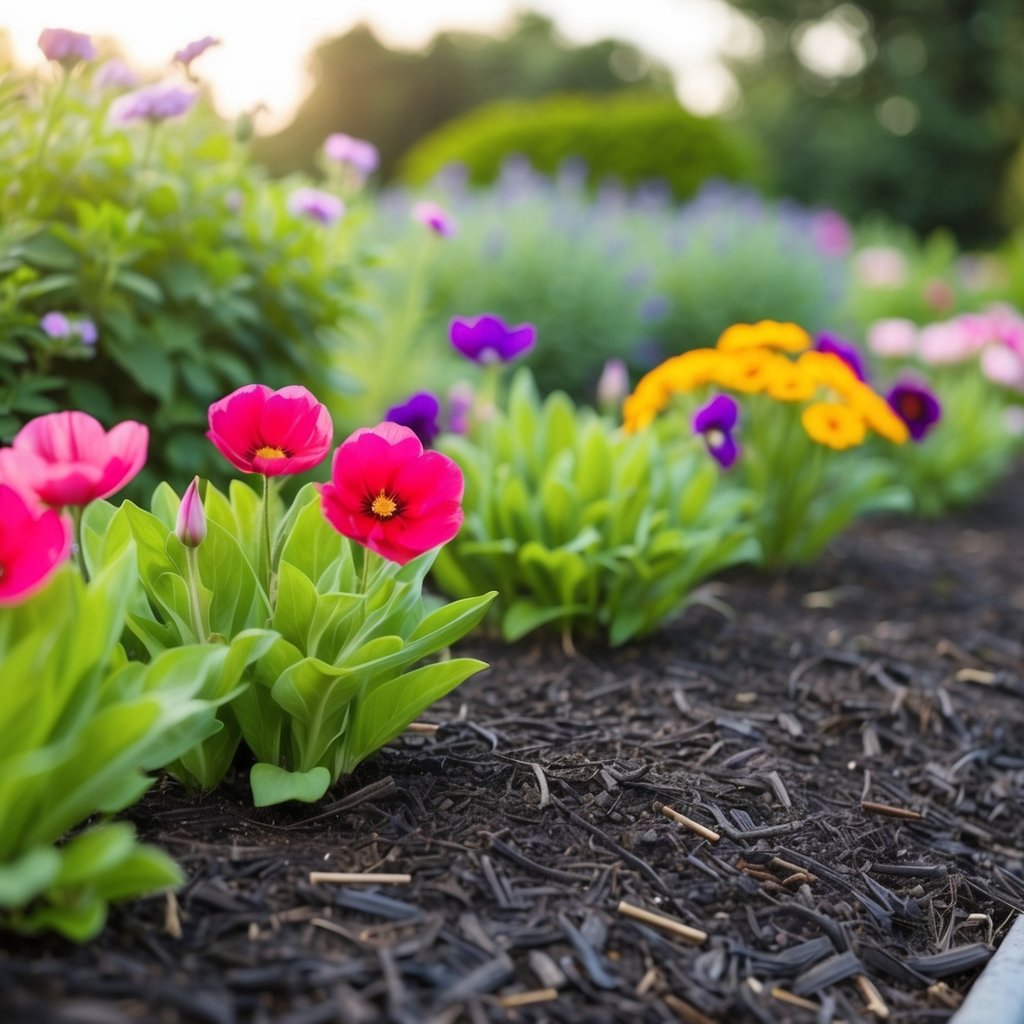
Once you’ve finished planting, don’t skip this step! Adding a 2-3 inch layer of mulch over your flower beds builds a protective barrier that just works wonders.
Why does mulch thickness matter? Too thin won’t stop weeds, but too thick can smother your plants. The sweet spot is 2-3 inches for most flower gardens, giving you the benefits without risking your plants’ health.
Your mulch will block sunlight from reaching weed seeds, stopping them before they even get started. It’s like tucking your soil in at night—only the flowers get to peek out!
9. Amend Sandy Soil
In sandy soils, add plenty of compost to help retain water and nutrients better.
Sandy soil can be a real pain for gardeners. The coarse texture lets water drain out fast, dragging nutrients away, and your plants might not get what they need.
Mix in organic matter to improve water-holding and nutrient-retention. Compost acts like a sponge, holding onto water that would otherwise vanish.
When you add compost, you also boost your soil’s CEC (Cation Exchange Capacity). That’s just a fancy way of saying your soil gets better at holding water and nutrients right where roots can reach them.
Try working a 2-3 inch layer of compost into your sandy soil. You might be surprised how much less you have to water!
10. Water Thoroughly
Water the soil thoroughly after applying compost or amendments to help them settle.

After spreading compost or soil amendments in your flower garden, don’t skip the watering step! This simple final touch really helps everything blend together.
You should water thoroughly after adding compost to get those nutrients moving.
Think of water as the activator that gets all those good nutrients flowing through your soil. It washes the amendments down into the root zone where your flowers can actually use them.
Give your garden a good soaking—not just a quick sprinkle. The water needs to reach deep, all the way to where those future flower roots will go.
Let the improved soil settle for a few days before planting. This gives everything time to integrate and settle in.
Why We Love It: Honestly, this step is so easy but makes a huge difference. Water is kind of magical—just a bit of effort and suddenly your soil is primed for happy, healthy flowers.


